
If you haven’t installed PHP, Apache, and MySQL, head over to this post first to see how to get that setup.
I like to start to create a WordPress site by getting the WordPress database setup and a user account created specifically to access the newly created WordPress database.
Log into your mysql instance.
mysql -u root -p
Create the WordPress database
CREATE DATABASE wordpress DEFAULT CHARACTER SET utf8 COLLATE utf8_unicode_ci;
Create the user, assign permissions, flush the privileges and exit mysql
mysql> CREATE USER 'wordpressuser'@'%' IDENTIFIED WITH mysql_native_password BY 'password';

mysql> GRANT ALL ON wordpress.* TO 'wordpressuser'@'%';

mysql> FLUSH PRIVILEGES;

mysql> EXIT;
Create a directory for your WordPress site
sudo mkdir /var/www/example
Create your Apache Virtual Host File
Navigate to the apache site-available directory and create your virtual host file.
cd /etc/apache2/sites-available
sudo vi example.conf
<VirtualHost *:80>
     ServerName example.com
     ServerAlias example.com
     DocumentRoot /var/www/example
     <Directory /var/www/example>
       Options Indexes FollowSymLinks
       AllowOverride All
       Require all granted
     </Directory>
</VirtualHost>
We also need to enable it. Note: We don’t need the .conf here.
sudo a2ensite example
Download and prep WordPress
Lets get the latest WordPress Installation, extract it and prep the config
cd /tmp
curl -O https://wordpress.org/latest.tar.gz
tar xzvf latest.tar.gz
cp /tmp/wordpress/wp-config-sample.php /tmp/wordpress/wp-config.php
Add an .htaccess file so WordPress can use it.
touch /tmp/wordpress/.htaccess
Move the extracted WordPress download to the folder you created above
sudo cp -a /tmp/wordpress/. /var/www/example
Fix the permissions
sudo cd /var/www/example
sudo find . -type f -exec chmod 664 {} +
sudo find . -type d -exec chmod 775 {} +
sudo chmod 660 wp-config.php
Grab some secure values for WordPress (You’ll need these in a sec)
curl -s https://api.wordpress.org/secret-key/1.1/salt/
Now, finally edit the WordPress config
sudo vi /var/www/wordpress/wp-config.php
Find this section and replace it with the secure values you just got.
define('AUTH_KEY',         'put your unique phrase here');
define('SECURE_AUTH_KEY',  'put your unique phrase here');
define('LOGGED_IN_KEY',    'put your unique phrase here');
define('NONCE_KEY',        'put your unique phrase here');
define('AUTH_SALT',        'put your unique phrase here');
define('SECURE_AUTH_SALT', 'put your unique phrase here');
define('LOGGED_IN_SALT',   'put your unique phrase here');
define('NONCE_SALT',       'put your unique phrase here');
Configure your WordPress Database Settings
// ** MySQL settings - You can get this info from your web host ** //
/** The name of the database for WordPress */
define( 'DB_NAME', 'wordpress' );

/** MySQL database username */
define( 'DB_USER', 'wordpressuser' );

/** MySQL database password */
define( 'DB_PASSWORD', 'password' );

/** MySQL hostname */
define( 'DB_HOST', 'localhost' );

/** Database Charset to use in creating database tables. */
define( 'DB_CHARSET', 'utf8' );

/** The Database Collate type. Don't change this if in doubt. */
define( 'DB_COLLATE', '' );
Also add this, to let WordPress know how to write to the filesystem, to avoid any future prompt from WordPress for FTP credentials.
/** Define how WordPress should write to the filesystem */
define('FS_METHOD', 'direct');
At this point, you should be able to browse right to the website and finish the WordPress Config
https://server_or_domain_or_IP
Select your language
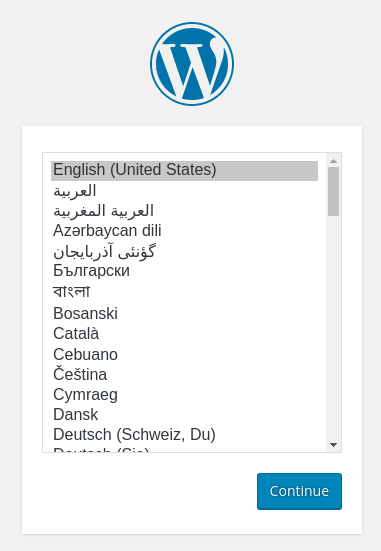
WordPress language selection
Enter the configuration information

Click Install WordPress
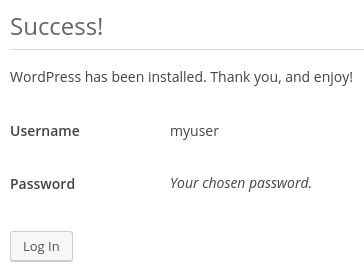
WordPress login prompt
When you click Log In you will be sent to the WordPress administration site. Now you can customize your website however you want.
For SSL Certificates from LetsEncrypt check out my next post.