- Deploying an Object First Appliance – Unboxing
- Deploying an Object First Appliance – Configuration
- Deploying an Object First Appliance – WEB UI
So you’ve received your Object First Appliance. What now?
First, we’re going to have to unbox it and deploy it. In the box, we get everything we need to set up our new OOTBI. Yes, OOTBI (Out of the box immutability). It is a silly name, but it has one goal – to provide you with a solid Veeam-compatible storage appliance with immutability enabled right from the start.
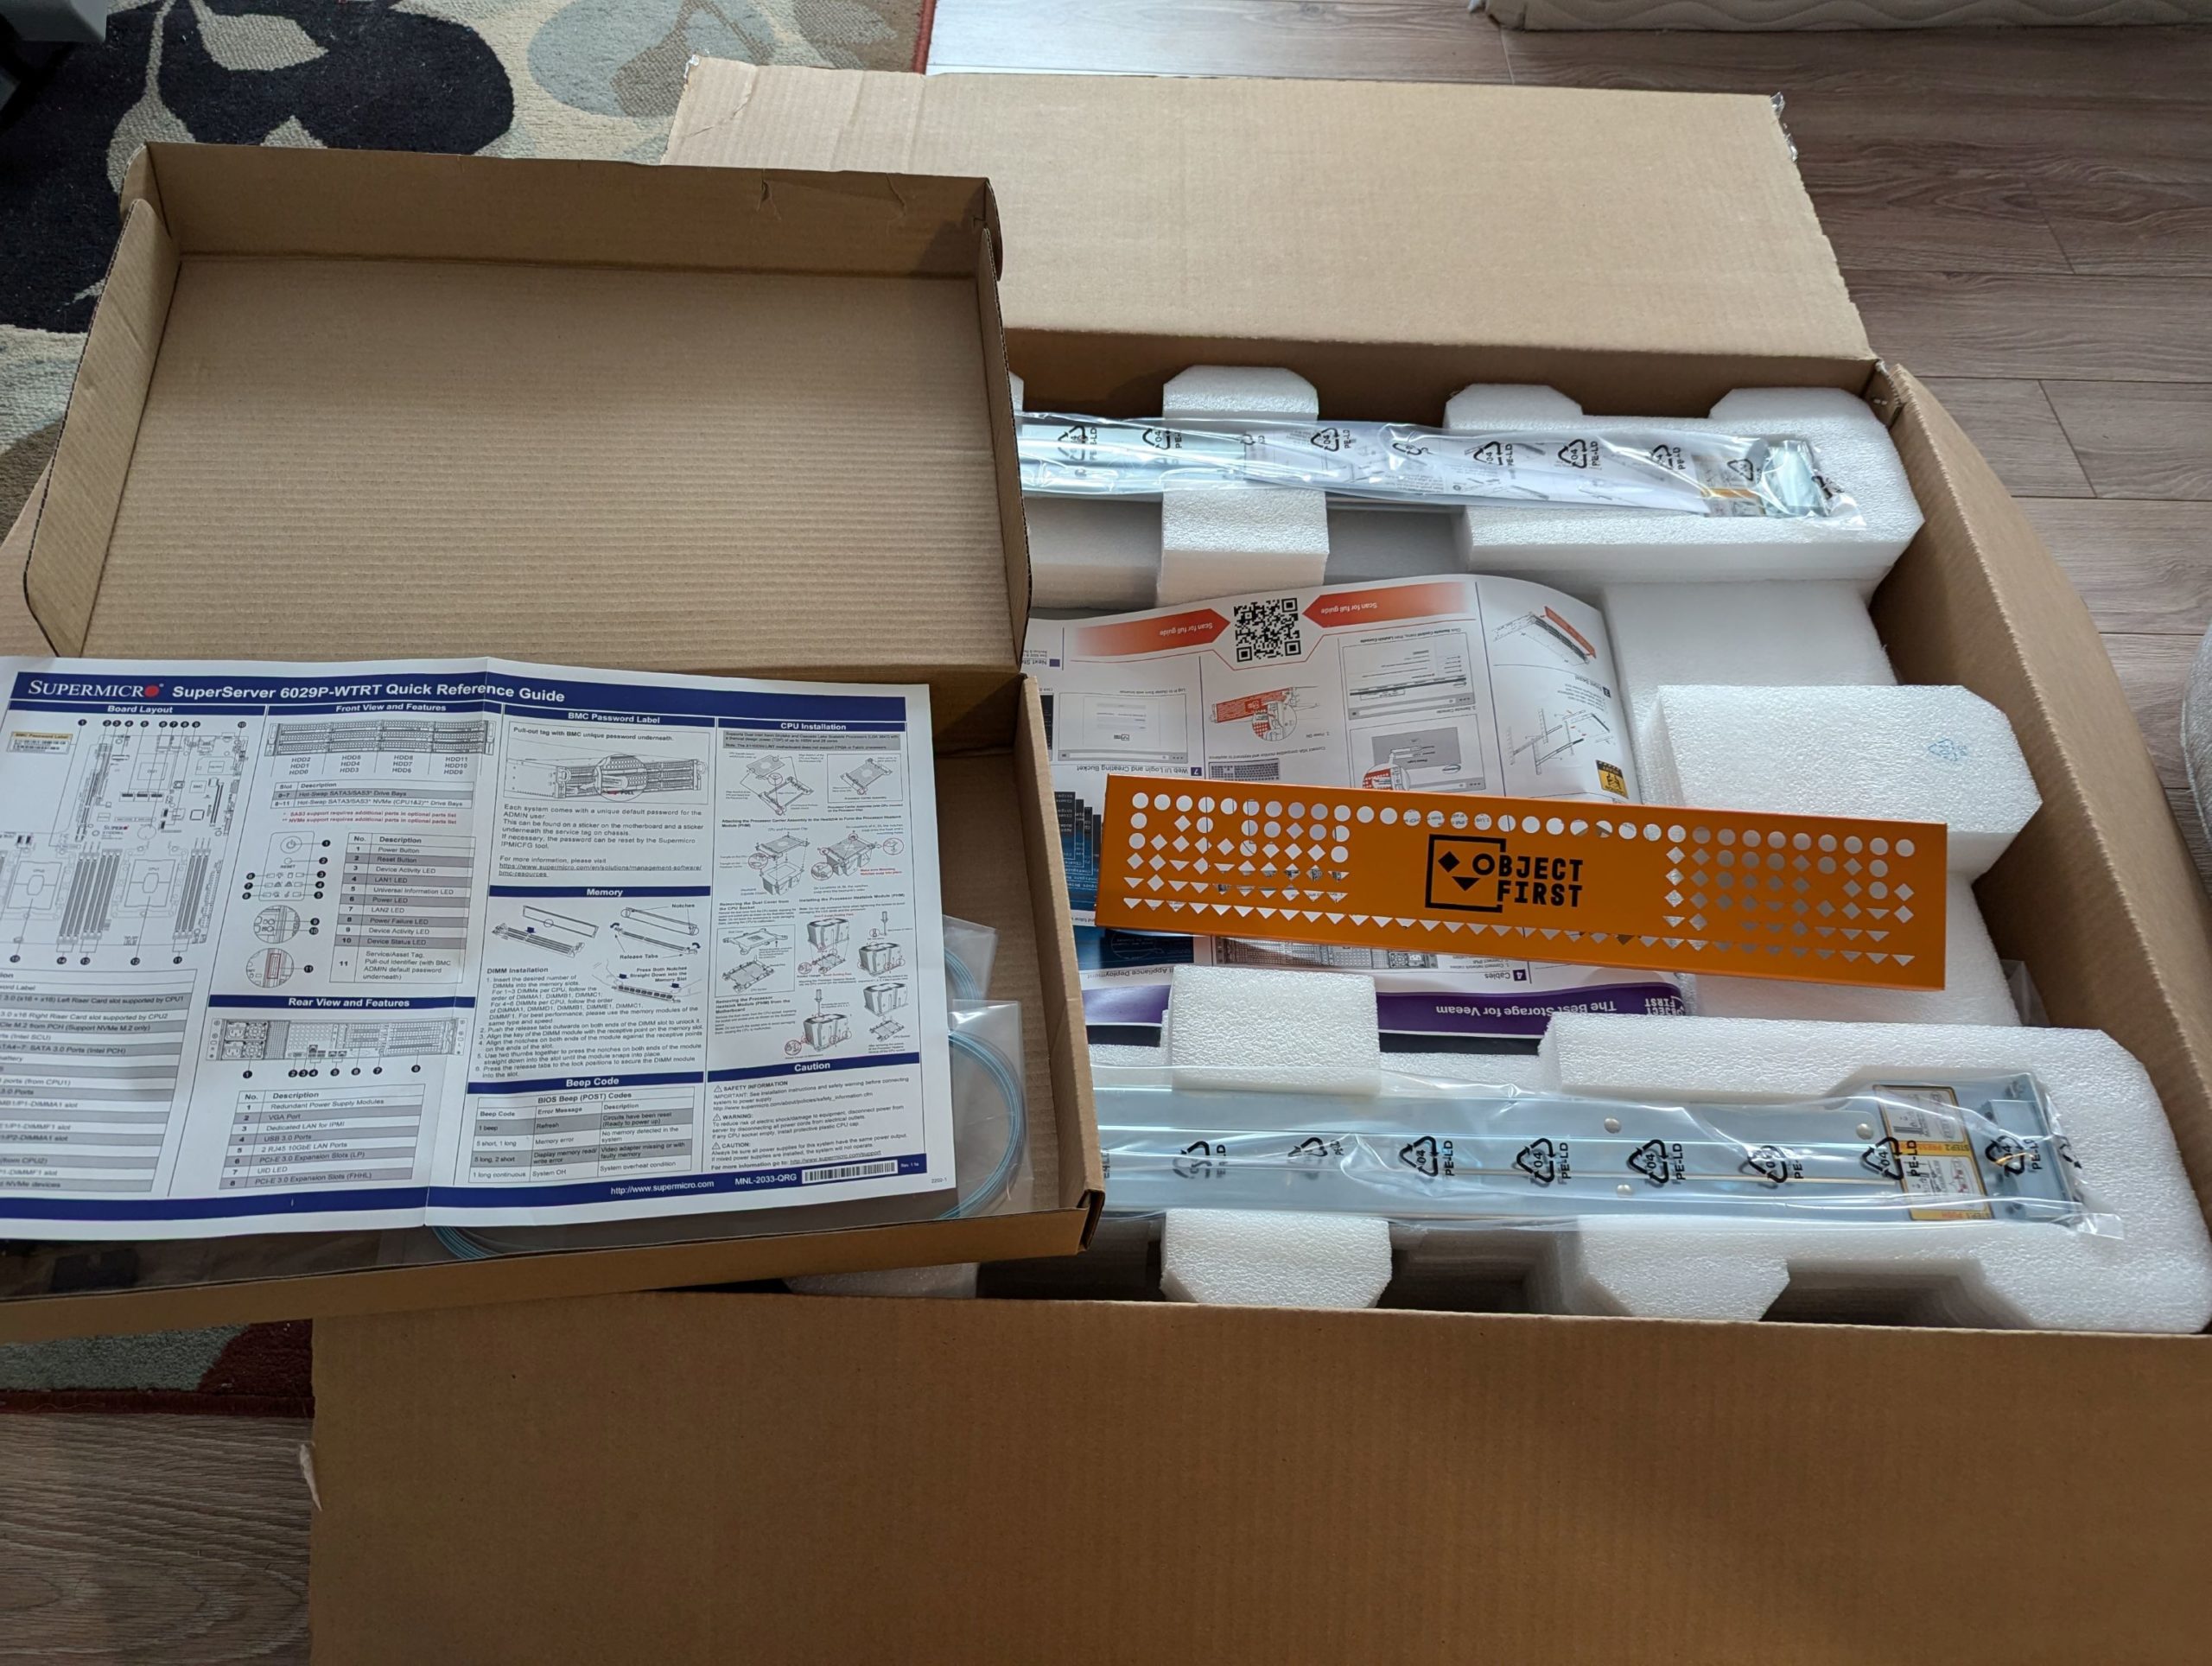
In the box, you will have cables, rack rails, instructions, and the ootbi itself.
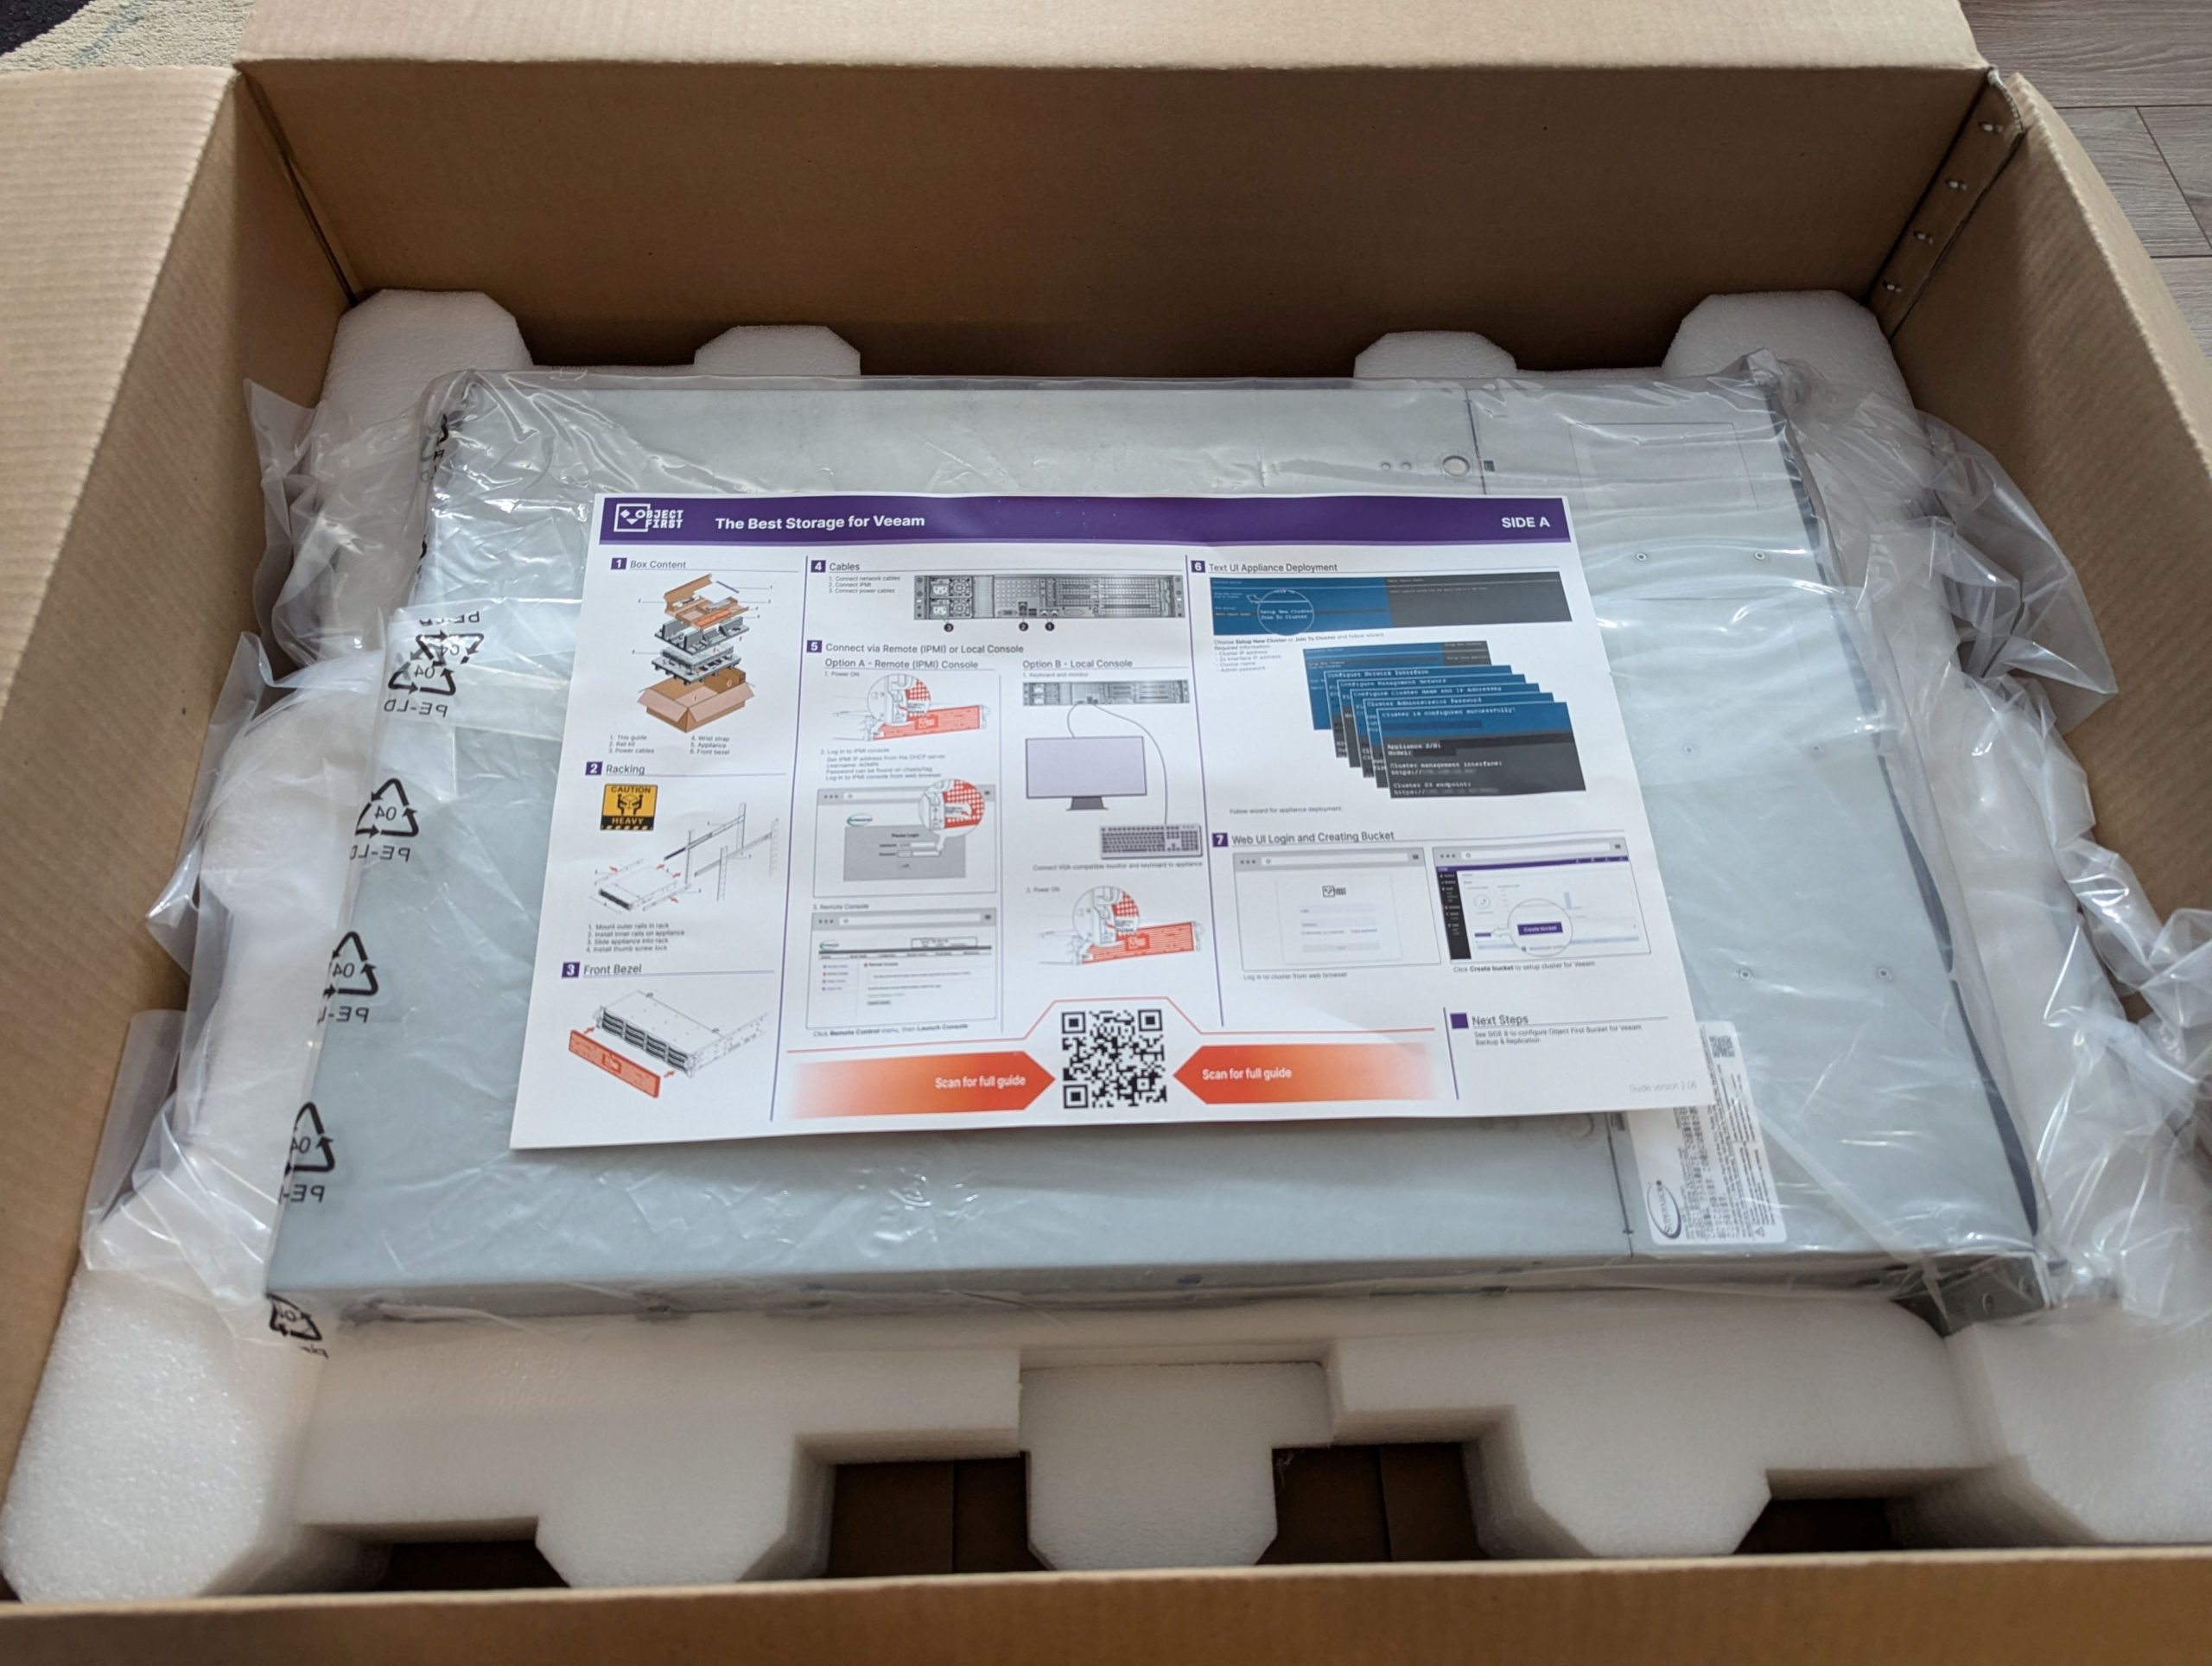
Keep those instructions for later, you might just need them!
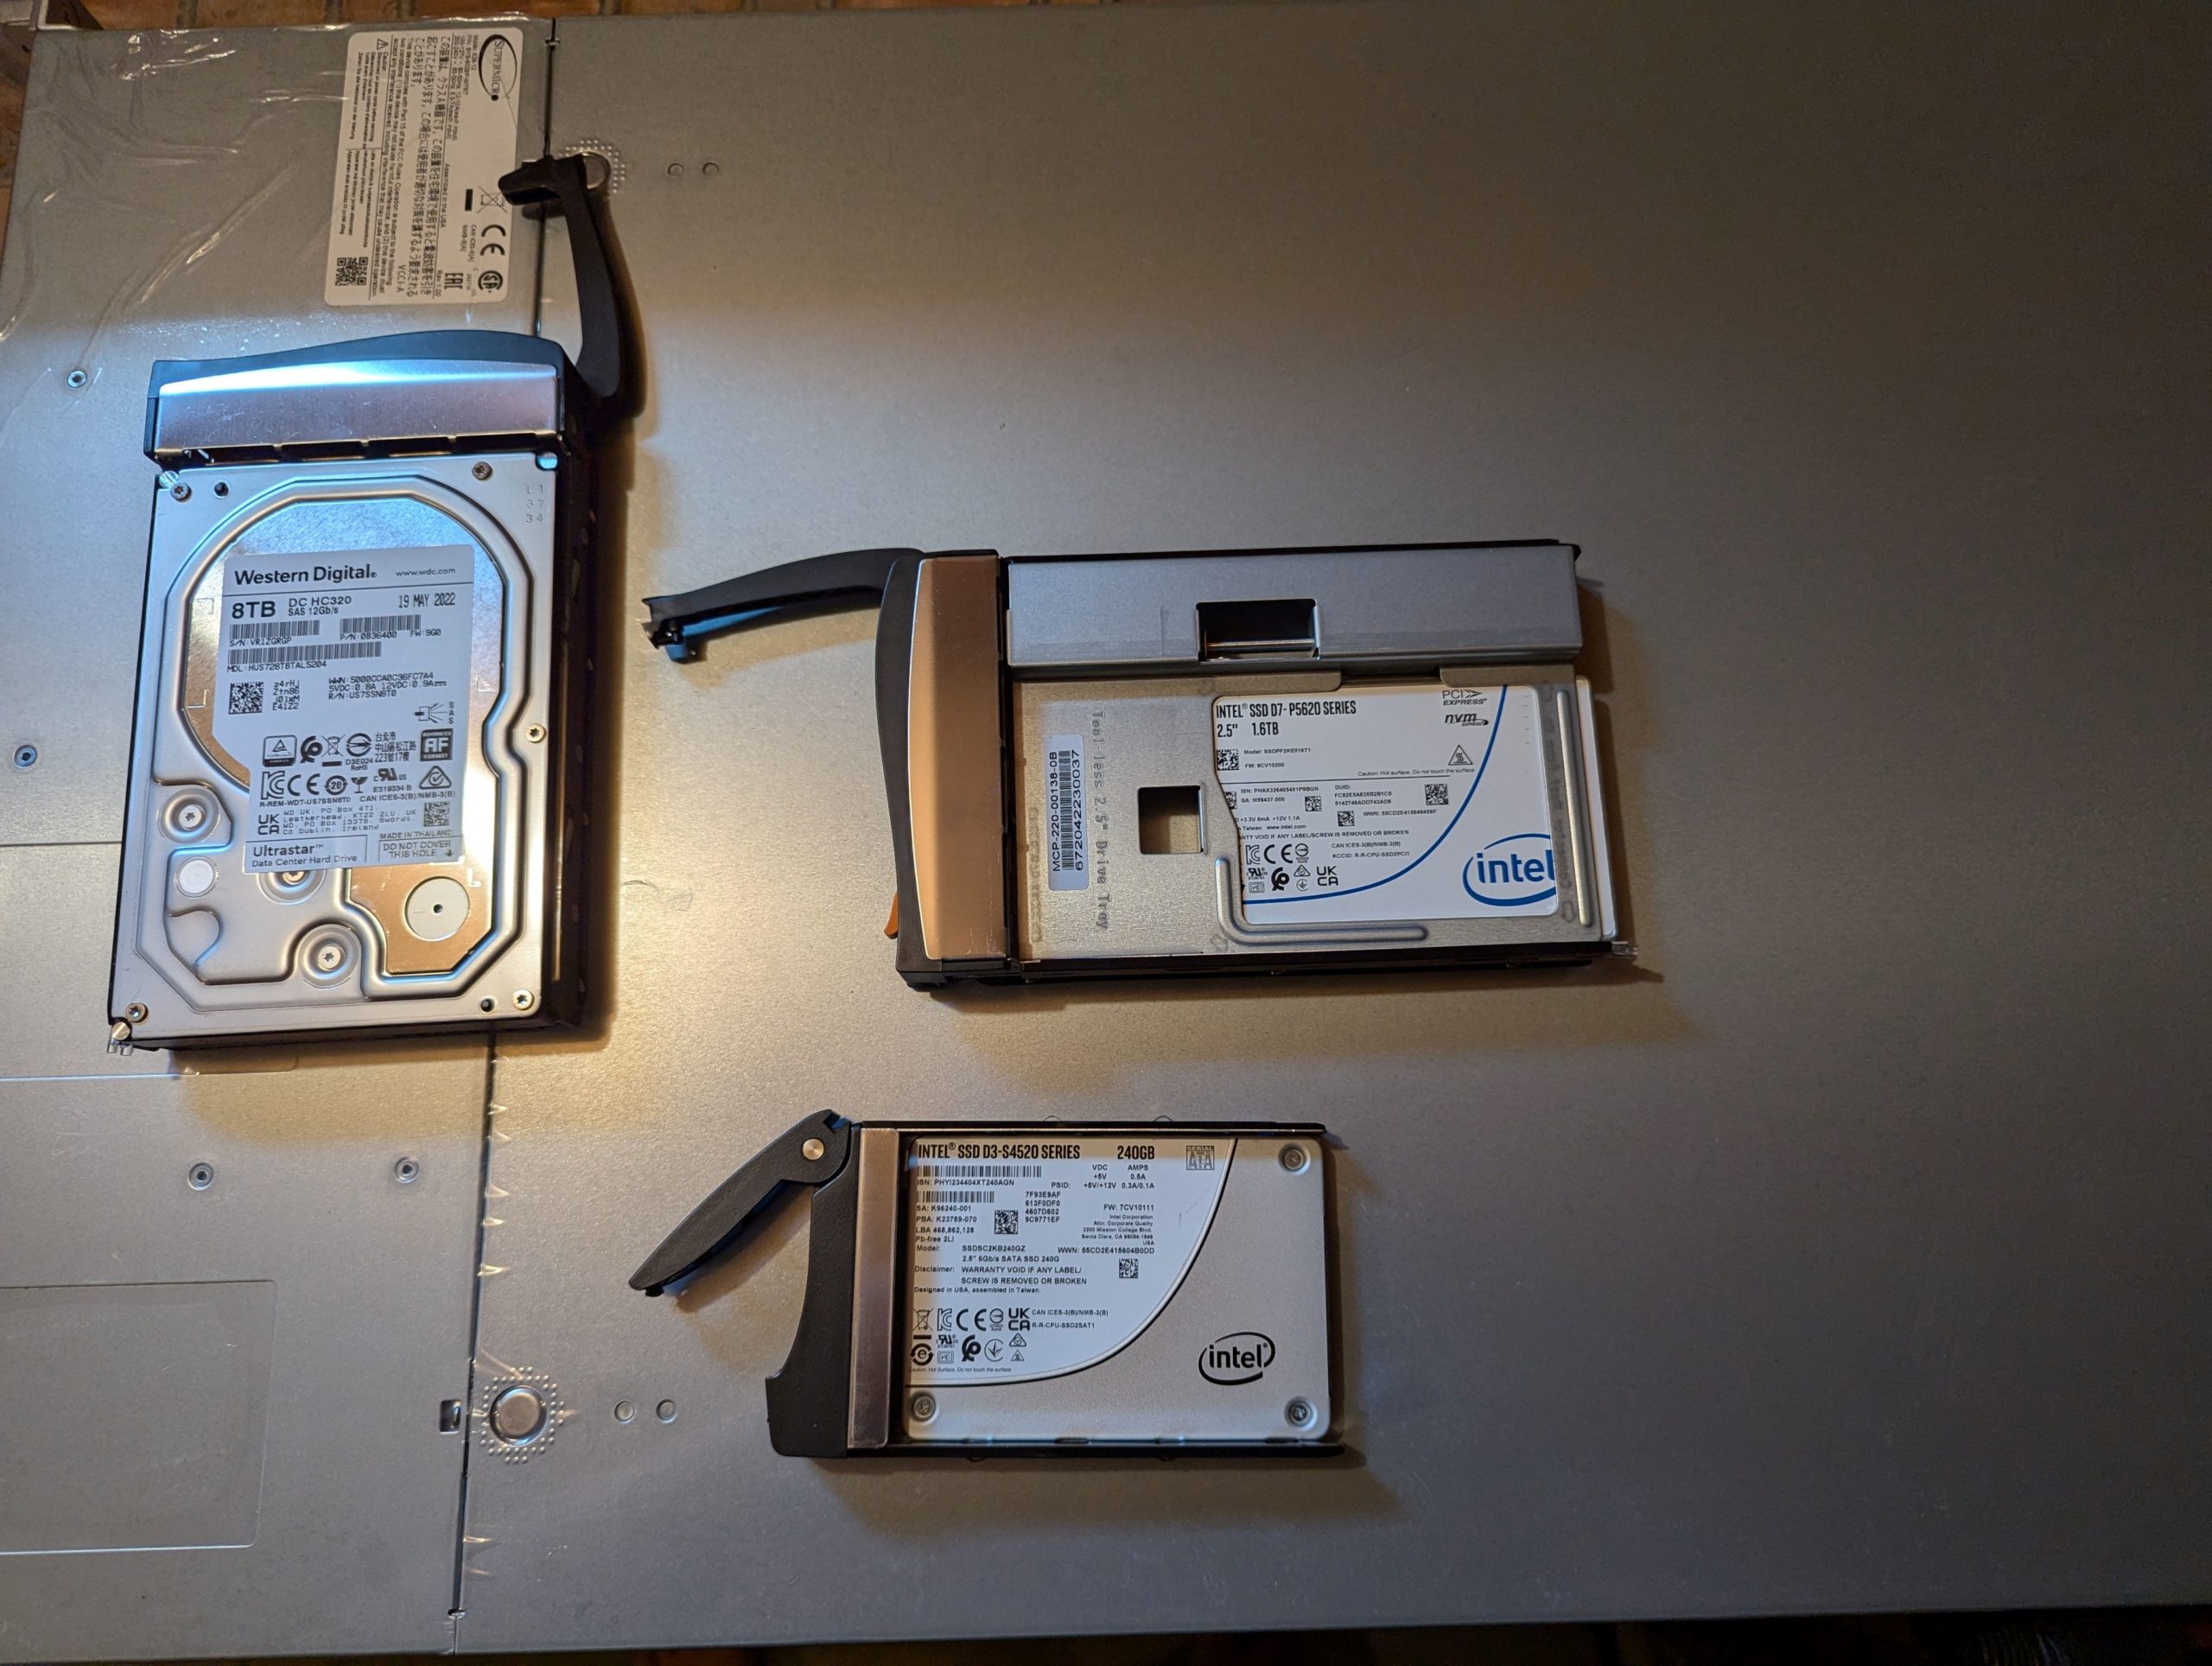
If we crack open the box itself, you will see three different hard drives – OS drives (the smallest ones), NVMe drives for caching, and the model I was given for testing as 8 TB SAS drives. Now, I don’t recommend you pull these out of a live running system, but we’ll do that later, just for fun anyway. I pulled these drives out of the system before powering it on. The OS drives are in the back of the chassis, while the single NVMe and the HDDs are in the front.
Now when we take off the cover, you’ll see the guts of the device itself. Since this is a SuperMicro server that was branded for Object First, it’s going to look much the same as many SuperMicro servers.
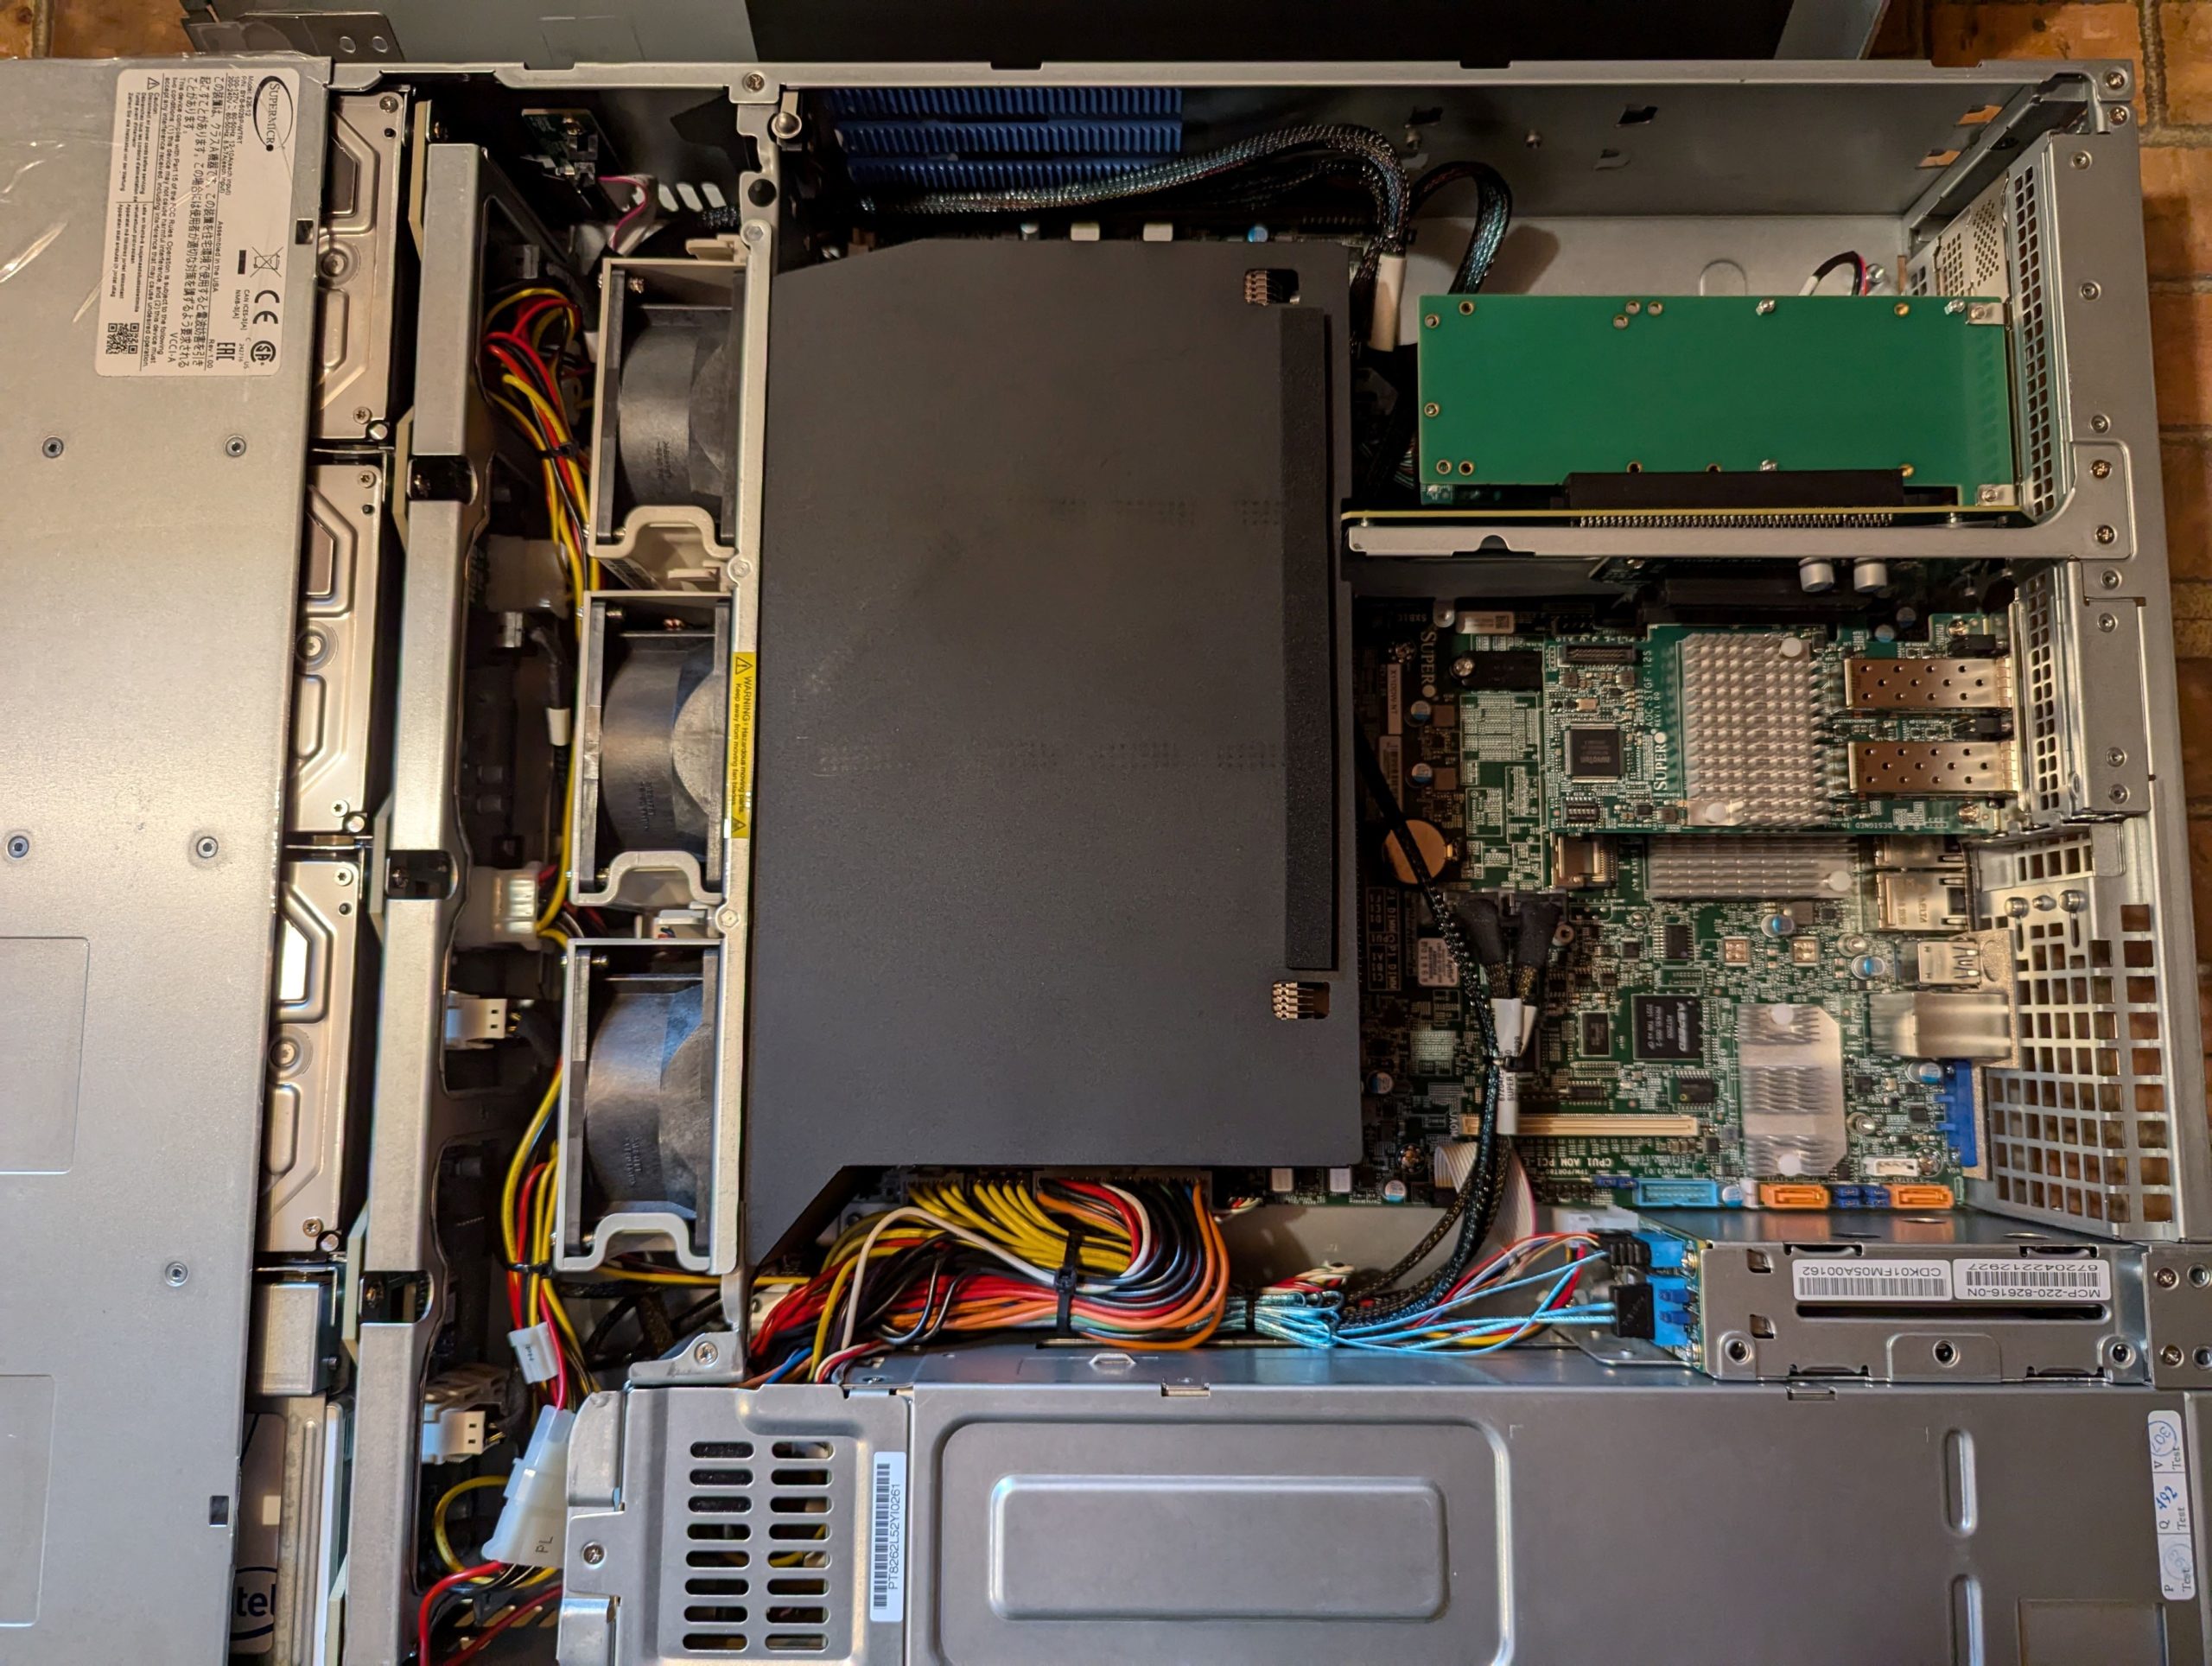
In the back of the chassis, we have 10 GbE Base-T Ports (x2), 10 GbE SFP+ Ports (x2), and an IPMI interface – plenty of connectivity for most use cases. I especially like the 10 GbE Base-T Ports – for those customers who do not have 10 GbE connectivity yet, they can still connect to the Object First box via 1 GbE. I am curious about the lack of 25 GbE ports.
Now let’s get to configuring the device itself!
Disclaimer: I was provided an OOTBI device to test from Object First as part of the Object First Ace program. My opinions are my own.
1 thought on “Deploying an Object First Appliance – Unboxing”