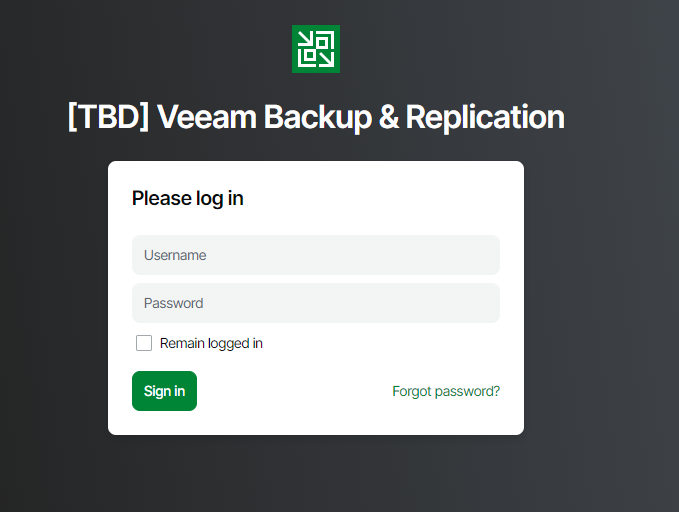
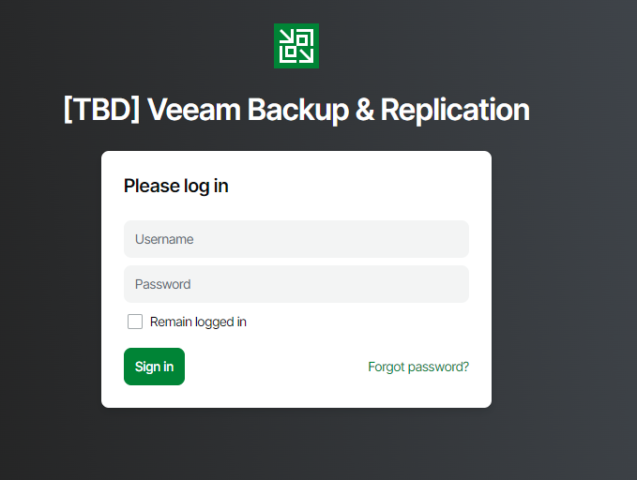
Now that we know Veeam Backup and Replication 13 will have its own special WEB UI, a thought crossed my mind: “How can I get visibility into my Veeam environment safely and securely?” One can use some form of traditional VPN, but maybe you don’t want to utilize any traditional VPN, or you don’t want a separate VPN just for Veeam. How about accessing your Veeam Backup and Replication 13 WEB UI with a Cloudflare Tunnel?
Introducing Cloudflare Tunnels
Cloudflare tunnels provide the means to connect to your private applications without needing a publicly routable IP address. That sounds like a great use case for connecting to Veeam Backup and Replication 13’s new WEB UI from anywhere! So let us take a look at setting that up.
Setup Cloudflare Tunnels
For interest in brevity, I am not going to walk through setting your domain up with Cloudflare. Additionally, since I like to use Docker, I’ll be setting this up with a small Docker compose environment. Once you have the domain setup though, configuring a Cloudflare tunnel is pretty straightforward.
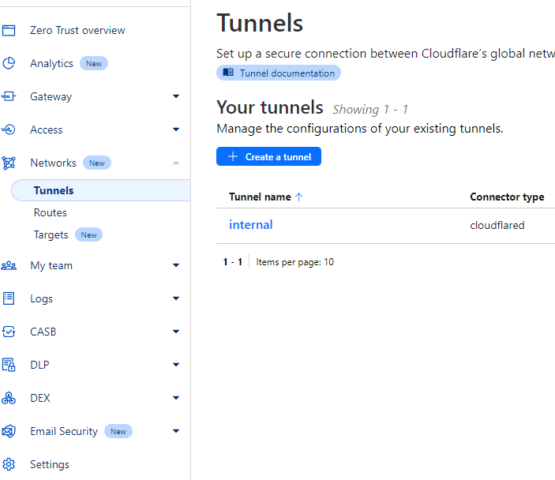
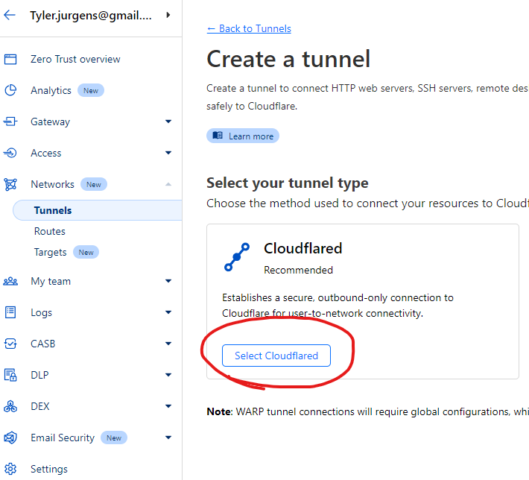
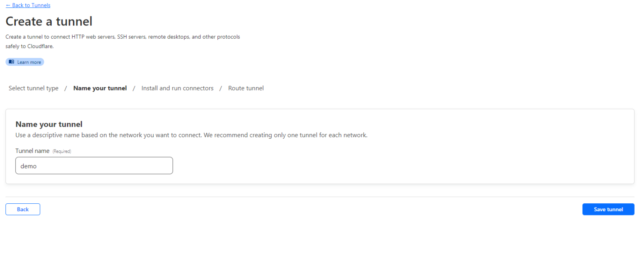
The first thing you want to do is create a Cloudflare tunnel in the Zero Trust Dashboard. From there, click on Networks -> Tunnels and “Create a tunnel”. Then select Cloudflared, give your tunnel a name and save your tunnel.
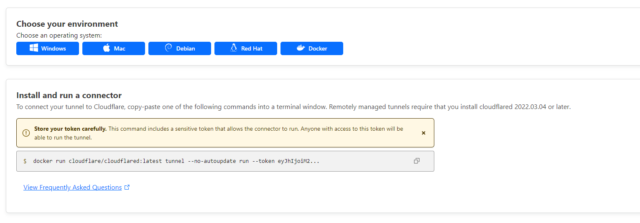
Once you have that completed, you will be prompted to install and run your connector. Pick your OS flavor of choice and get started. I wanted to use Docker, so that’s what I chose. I also wanted to use Docker compose rather than a simple Docker one-liner, as that gives me a bit more flexibility. For this to work you must have Docker and Docker compose installed.
Docker Compose Setup
This is a basic Docker container, so it only needs a basic setup.
services:
  tunnel:
    image: cloudflare/cloudflared:latest
    user: 65534:65534
    container_name: cloudflared-tunnel
    restart: unless-stopped
    command: tunnel run
    environment:
      - "TUNNEL_TOKEN=${CLOUDFLARE_TUNNEL_TOKEN}"
In this setup, I run the official cloudflared image under the 65534 user. I did this specifically to silence the warning that will show up in your logs if you don’t.
cloudflared-tunnel | 2024-12-08T23:36:18Z WRN The user running cloudflared process has a GID (group ID) that is not within ping_group_range. You might need to add that user to a group within that range, or instead update the range to encompass a group the user is already in by modifying /proc/sys/net/ipv4/ping_group_range. Otherwise cloudflared will not be able to ping this network error="Group ID 65532 is not between ping group 65534 to 65534"It’s a benign warning, but a warning nonetheless.
I moved the tunnel token to a .env file as well. Create a file in the same directory as your compose.yml file. The .env file will contain only one line:
CLOUDFLARE_TUNNEL_TOKEN='my token here - get this from the cloudflared page'If you don’t know where to find your token, copy the docker one-liner. It’s autopopulated in there for you.
Finally, you can run your docker container with the following command:
docker compose up -dThis should establish your tunnel and you will see it connected in Cloudflare. However, for now, we want it shut down. Otherwise, once we have the tunnel configured we will expose the Veeam Backup and Replication v13 WEB UI to the public.
docker compose downConfigure the Tunnel
Now you need to configure that tunnel. Go back to Tunnels, select the 3 dots, and click configure.
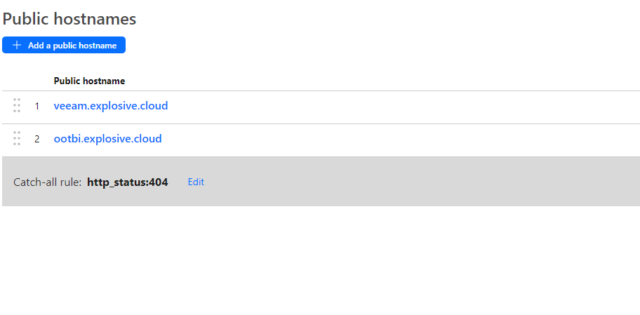
Here you want to add a public hostname with the internal IP and port of the Veeam server itself.
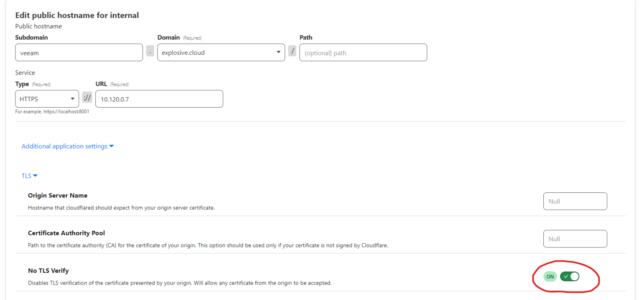
Once you have that, edit the site and enable “No TLS Verify”, so you can use any SSL certificate with that site. Without this setting enabled, any internal HTTPS site will fail to match the SSL certificate provided by the Cloudflare tunnel.
Now that you have that setup, your Veeam WEB UI is fully open to the public once you bring up your docker container! Awesome! …wait… no. You don’t want to expose that to the internet!
Secure Cloudflare Tunnel
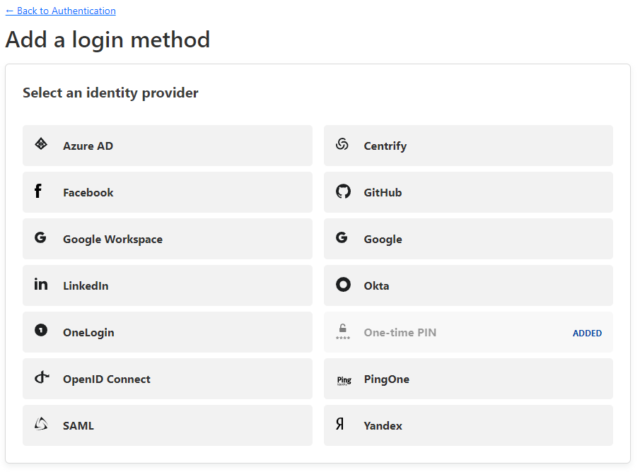
There are multiple ways to secure your Cloudflare tunnel as seen in the below screenshot. The default method added by Cloudflare is to send you a one-time PIN by email. The other methods have great documentation as well, so feel free to pick and choose the one that works best for your organization.
Lets get started with securing this site. From your Zero Trust dashboard, select Settings -> Authentication.
Scroll down to login methods and select “Add New”. I already have the “One-time PIN” added (plus, I have Google auth, just for funsies). Your mileage may vary.
However, we’re not done yet. We still need to create an access rule and policy to utilize this for our tunnel.
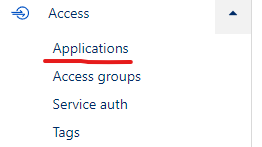
Select “Access -> Applications” and “Add an application”
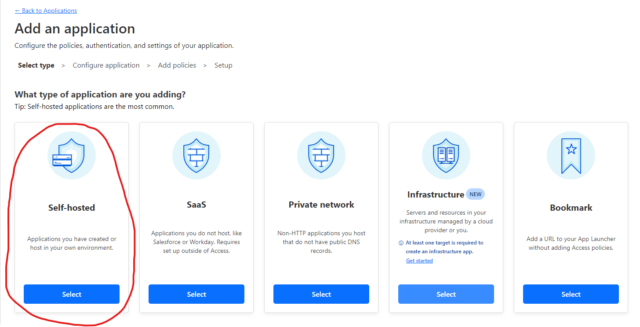
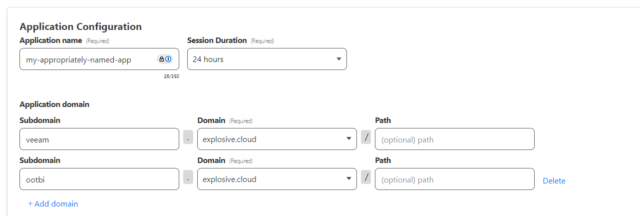
Select “Self Hosted” and give it an appropriate name. Also, make sure to add the domains that you have allowed through your tunnel above. Note: You can use * for the subdomain, ensuring this protects all subdomains with this security policy.
Scroll down to Identity Providers and select the One-time PIN
Click Next.
Now name your policy appropriately and scroll down to configure rules. This is where you will lock this down to an email (and others, if you choose).
Finish the setup wizard and you’re done. Your application is now available on the internet through a Cloudflare Tunnel but locked down according to your rules above. Can’t connect? Make sure you’ve gone and turned up your docker image.
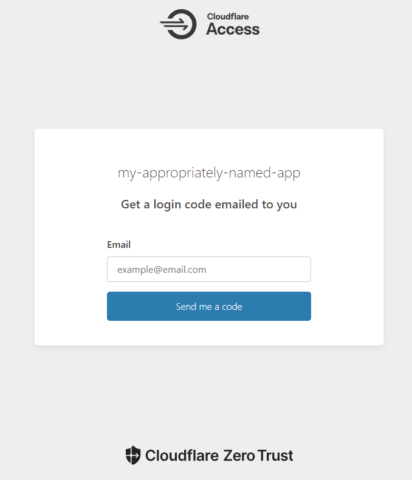
docker compose up -dNow when you try to hit your Veeam Backup and Replication v13 UI through your URL of choice, you will be presented with an authentication challenge.
Final Thoughts
Whether you like the idea of having your Veeam Backup and Replication v13 WEB UI accessible on the internet or not, it does present some cool opportunities.
Now you will be able to securely check your backup and replication jobs and status from anywhere your policy allows, using a simple web browser. That kind of flexibility is huge when response time matters and you get that dreaded call when you’re out enjoying a nice evening meal with your spouse.
Let me know what else you would like to see with Veeam Backup and Replication 13!
