Just recently Veeam Backup & Replication version 12.2 was just released offering many new features and some very important security fixes! Here we will walk you through how to install Veeam 12.2.
ISO
First, download the latest version from Veeam in ISO format from their downloads page. https://www.veeam.com/products/downloads/latest-version.html
Mount the ISO within your Windows machine – whether it’s a desktop or server version it doesn’t matter, Veeam supports both!
Installation Choices
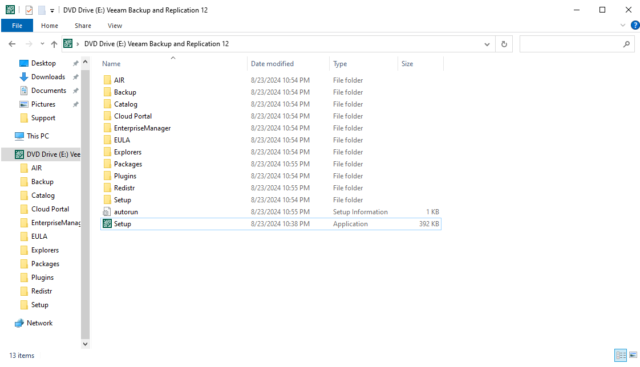
When you first mount the ISO, you will be presented with the installer folder – including a handy, aptly named Setup application. Double-click that!
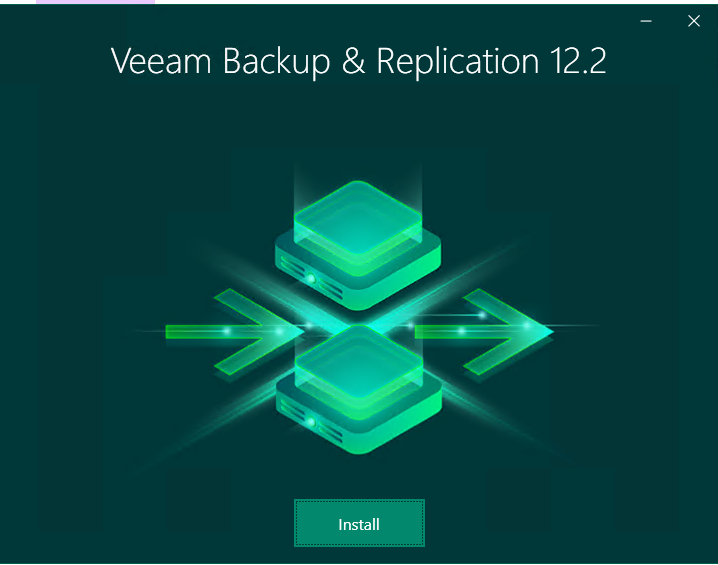
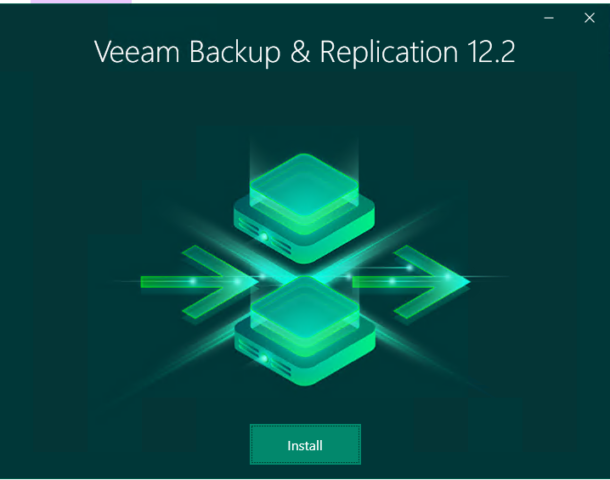
From this screen (and you may need to wait a moment), you will be presented with the start of the installer wizard. Click the aptly named Install button.
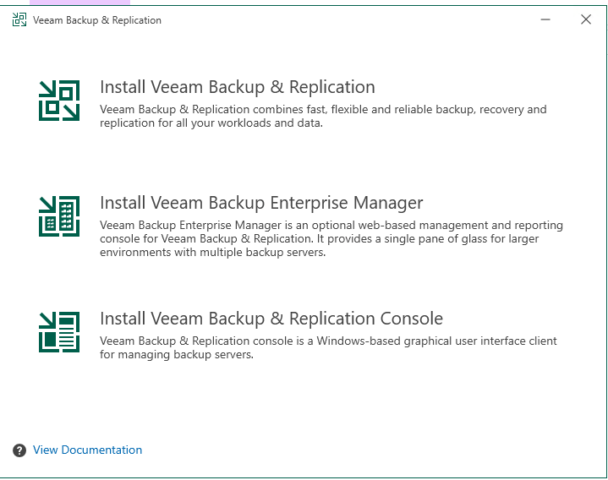
Once you click Install, you will be presented with a few options. The Veeam ISO contains Veeam Backup & Replication, Veeam Backup Enterprise Manager, and Veeam Backup & Replication Console. For our purposes, we will install Veeam Backup & Replication. In later articles we can dive into the benefits of Veeam Backup Enterprise Manager and when you may want to use Veeam Backup & Replication Console, without a full-blown Veeam install.
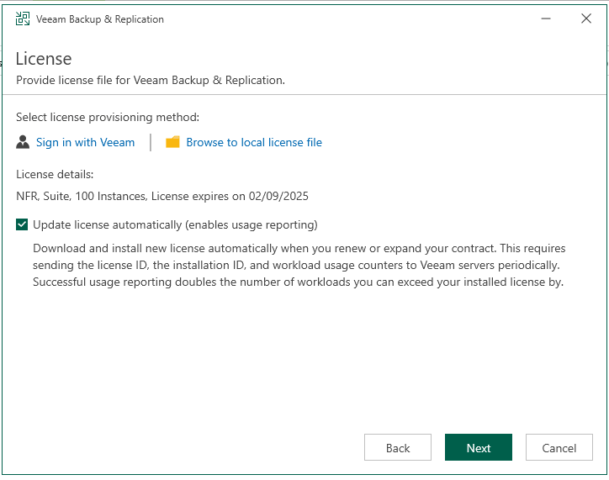
From here we’re presented with the Licensing and Configuration Options.
You can use a license in the license screen (as I did here) or continue with the community license. You can always apply a license to your installation at a later date.
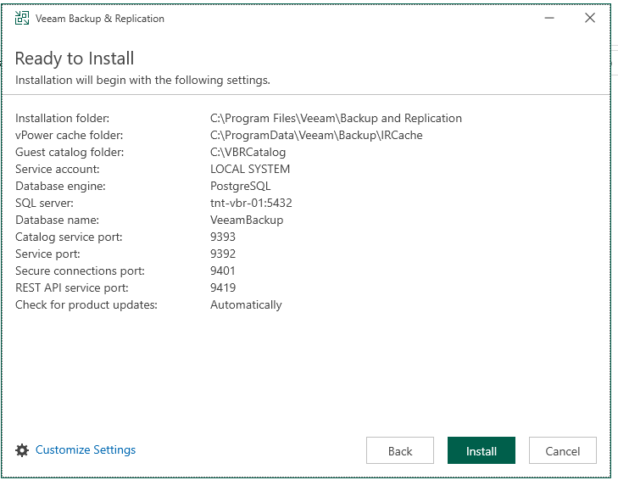
For most cases, you will want to keep the configuration options the default settings. However, if you do need to customize these you can do so by hitting the Customize Settings hotlink at the bottom left. This will allow you to specify different ports, installation folders, and database settings.
Installation
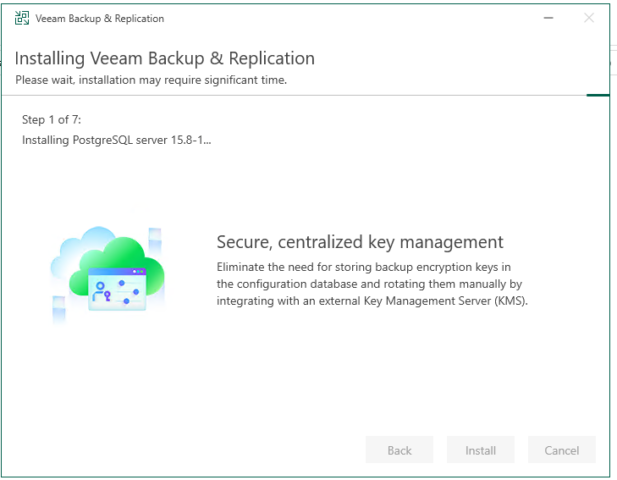
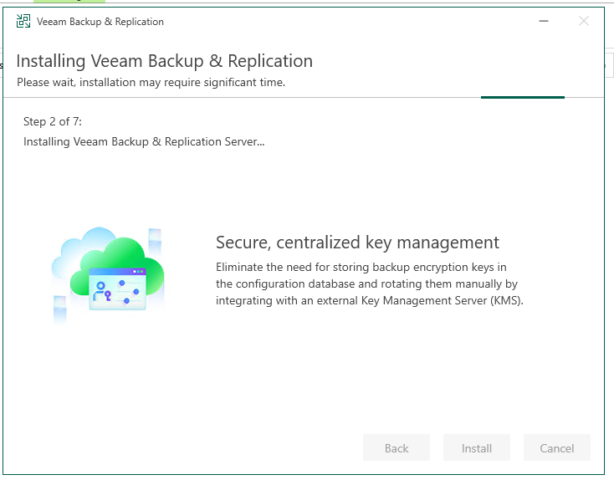
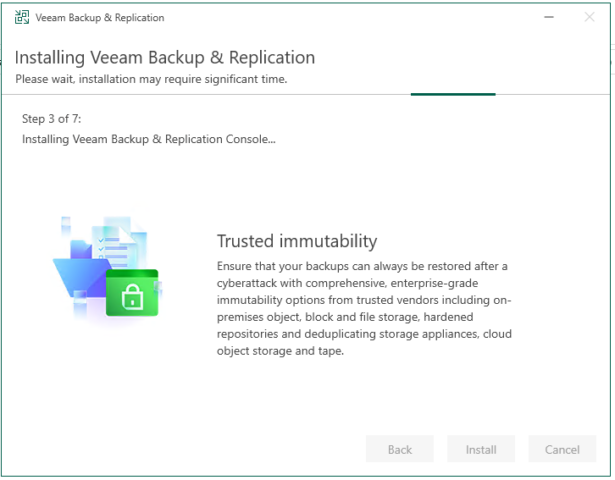
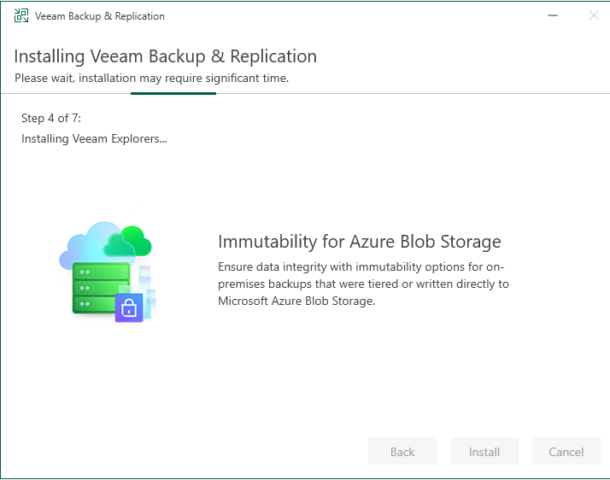
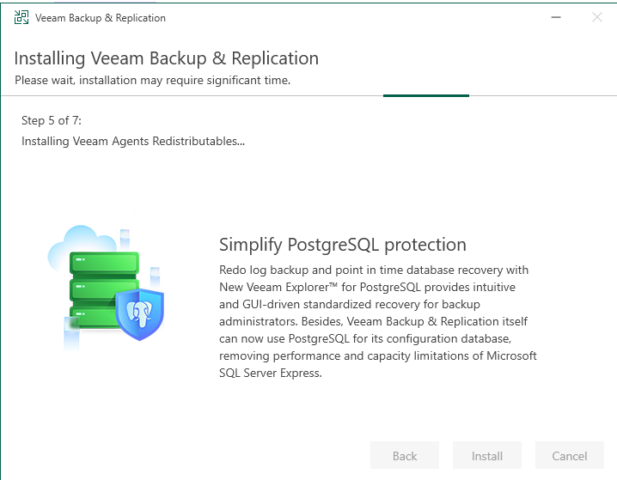
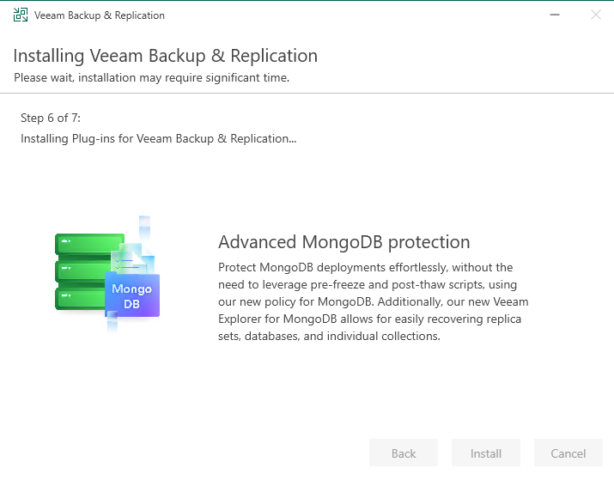
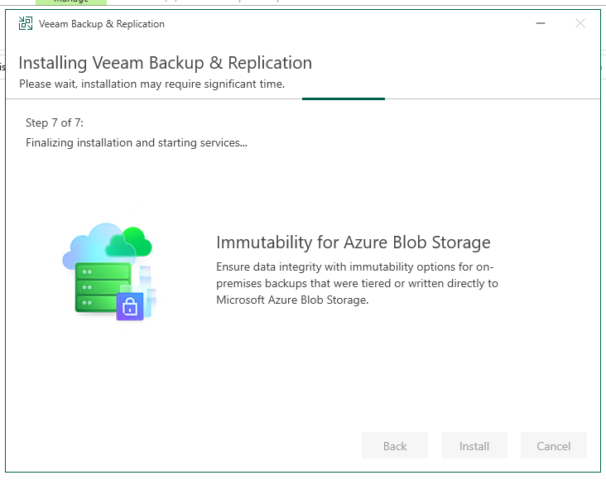
Once you click install the installer takes over and you can wait for it to complete. Veeam starts by installing PosgreSQL, then moves onto installing the VBR Server itself, the management console, the Veeam explorers, the Agent Redistributables, Plugins and then finalizes the installation.
No reboot is required for this to be fully functional.
After this you can launch the Veeam Backup & Replication console and start your journey to configuring your backups!
