- Deploying an Object First Appliance – Unboxing
- Deploying an Object First Appliance – Configuration
- Deploying an Object First Appliance – WEB UI
Now that we have racked and configured the first Object First OOTBI cluster, let’s look at the WEB UI.
Logging in – First Time
The first time you log into the Object First WEB UI you get presented with a nice little wizard to walk you through everything you need to do to get your first bucket setup. It works well – you get what you need done, step by step. I wanted to poke around first, but I went through the wizard anyway, just to make sure I am getting the full OOTBI experience.
Those who have worked on object storage setups before are likely fairly familiar with what Object First is having you do here to get started.
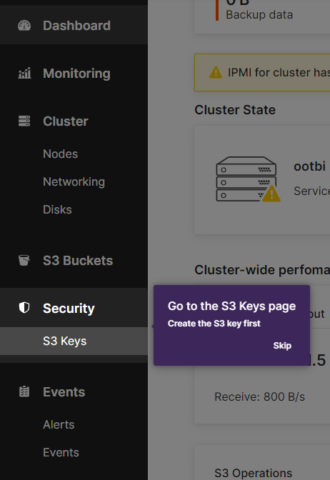
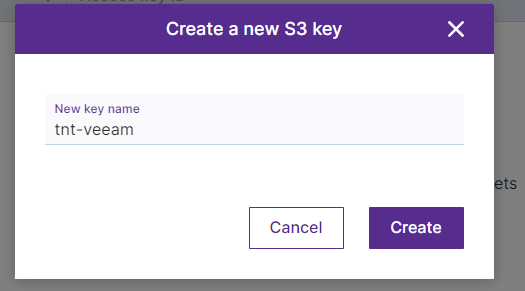
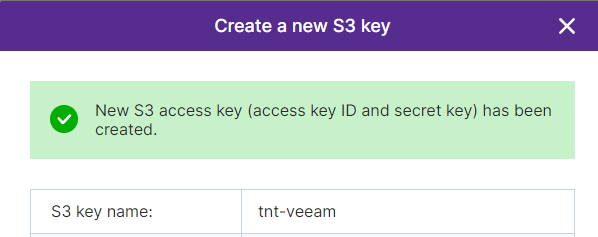
Above we went through the process of creating the S3 Keys (access credentials), providing you with a unique automatically generated access key ID and secret access key, with the friendly name you chose. These act like a username/password for your bucket. Keep it secret – keep it safe! Also, do not forget to keep these in your handy password manager, or enter them immediately into the “Add Repository” wizard in Veeam. Once you click off that section, you cannot go back to view that password.
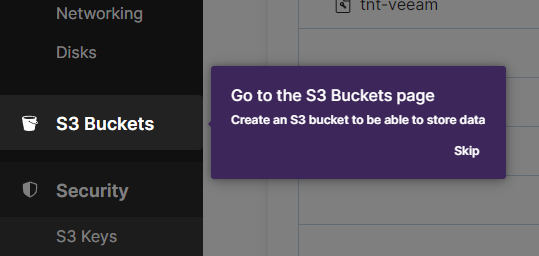
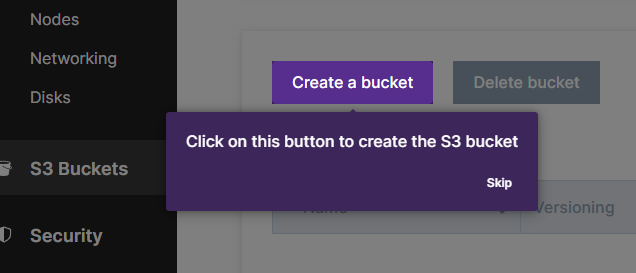
After that, we mosey on over to the S3 Buckets page, where we will create a bucket for use with Veeam. Don’t worry, I’ll have another post later about how this will look in Veeam itself.
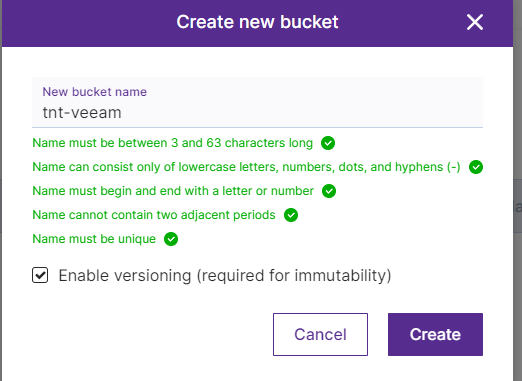
“Enable versioning (required for immutability)” is automatically selected when you first create a bucket – but you can turn this off if you do NOT want immutability. However, given we’re using an OOTBI (Out Of The Box Immutability) appliance for a reason, you likely don’t want this disabled.
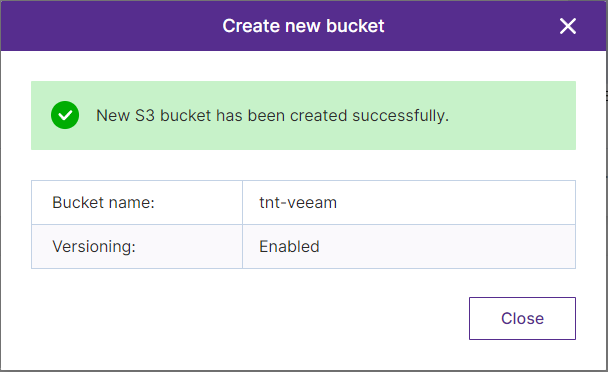
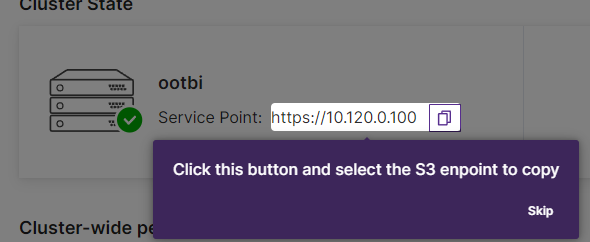
Finally, we get confirmation our bucket is created and we’re sent back to the dashboard to copy the S3 endpoint to use within our Veeam deployments.
Settings – Network
Immediately, I want to check out the settings of the appliance itself. I want to see what I can change and tweak as the “Setup a New Cluster” wizard for the initial deployment didn’t have all the settings I wanted to see.
The first thing you’ll want to take note of is that there are multiple levels to the settings.
You have the primary cluster view (ootbi) and the node view OOTBI. Naming matters! I probably would have named my node differently than OOTBI had I realized it would be displayed as such. That said, for a home lab this isn’t a pressing concern. Also on this page is the service point – which is hard-coded to the IP of the cluster itself. There is no ability to set a DNS name here to make this more human friendly.
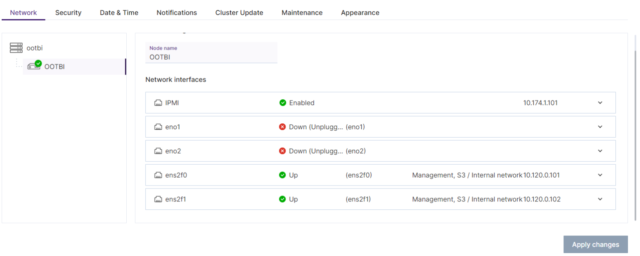
If you select the node (OOTBI) from the network tab you can see and reconfigure the network for each NIC in the node.
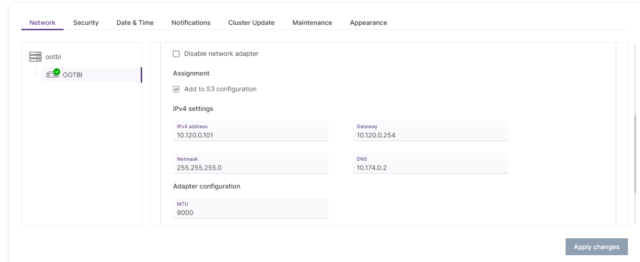
Unused/unplugged adapters are disabled here. Unfortunately, even if you enable those adapters, they automatically get added to the S3 configuration. No apparent way to add a management IP to these devices.
Here is where you can set the MTU for the adapter itself, and correct any DNS settings you may have mistakenly made during the initial cluster setup. Oddly, the DNS settings seem to be adapter-specific, so you have to go through each adapter and modify them at the adapter level itself. I would have thought this setting would be at the cluster level, but the only setting that can be adjusted there is the cluster name and cluster IP.
Settings – Security
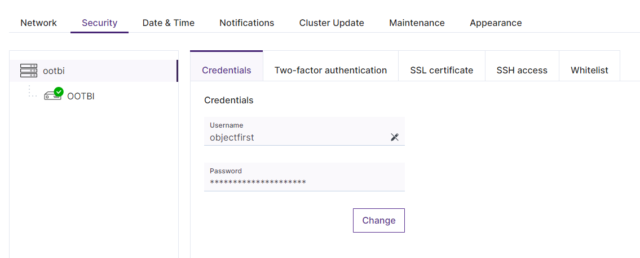
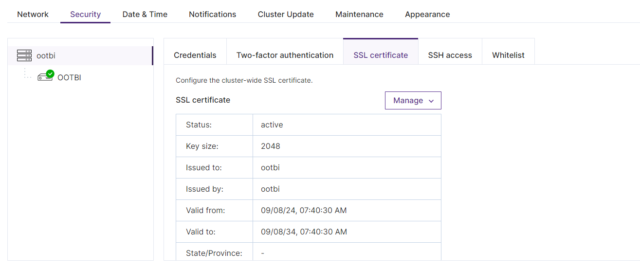
Under the security tab, we have the expected options. Here’s where you would go to change the password to access the cluster. You can also setup Two Factor Authentication – which is always recommended.
Additionally, you can manage your certificates and toggle SSH access to the cluster itself. All these settings are cluster-specific settings, so no need to select your nodes here. Also, if you want to SSH into the node itself, you use the cluster username and password to do so.
Interestingly here there is no option to insert your own SSL Certificate either. You are locked to the SSL Certificate generated by the OOTBI itself. Since you can’t change the service point to a DNS name (as mentioned above) either, I am wondering if using a DNS entry as the service point within Veeam will work as it’s supposed to work. It should as long as you accept the certificate, but without being able to load your own trusted SSL Certificate you won’t be able to get rid of the warning that Veeam will display when you add the bucket. If you use the IP as the service point, the self-generated SSL certificates shouldn’t display a warning if you add the CA certificate to your Veeam. We’ll most definitely have to try both!
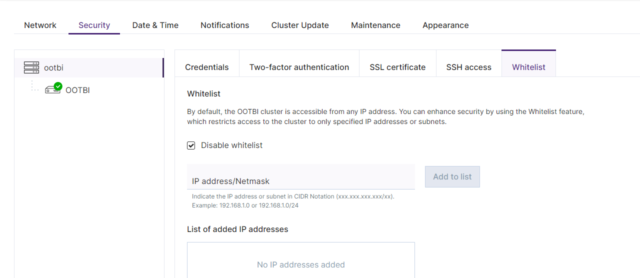
Finally, there is a white list option:
By default, the OOTBI cluster is accessible from any IP address. You can enhance security by using the Whitelist feature, which restricts access to the cluster to only specified IP addresses or subnets.
I want to try that out when I add this to my Veeam! But not yet, I don’t want to lock myself out of accessing this device just yet.
Settings – Others & Updates
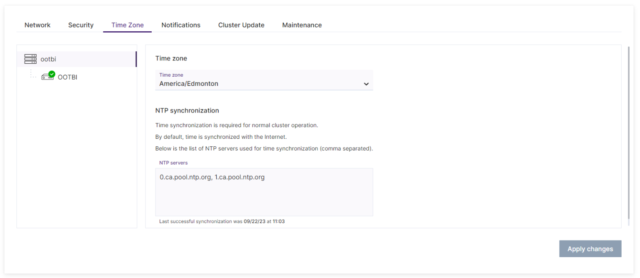
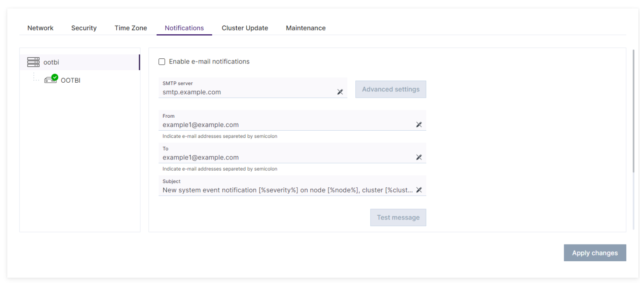
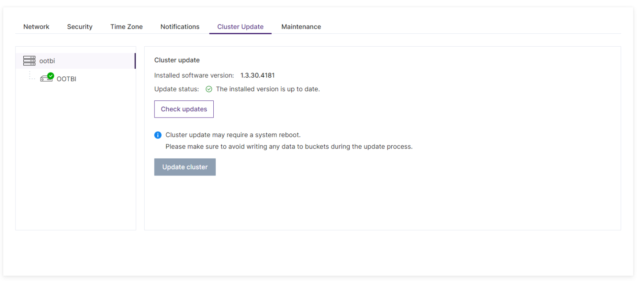
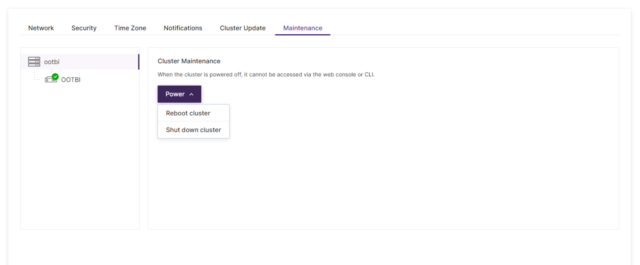
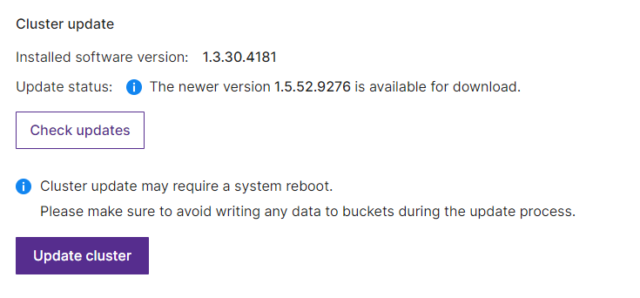
The rest of the settings tabs are boring. You can set your Time Zone and NTP Servers under the Time Zones tab, enable email notifications under the Notifications tab, update the cluster under the Update tab, and reboot or shut down the cluster under the Maintenance tab.
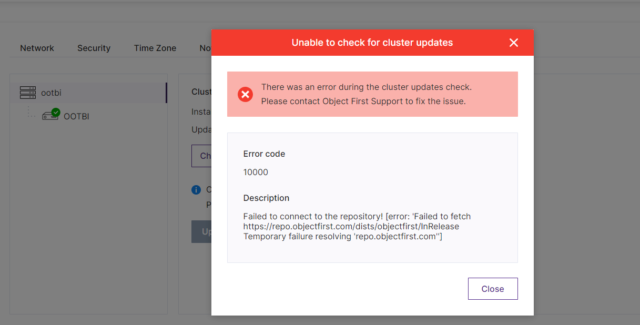
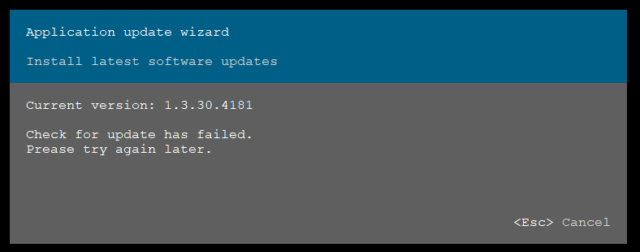
Oops, something went wrong here. Everything should be set up to check the repo for updates. However, I can’t double-check my connectivity. When I ssh into the node I am not allowed to go into the command shell without a special access key provided by Object First support.
Before reaching out I remembered I have my bind9 server set to only respond to requests from specific subnets and this subnet was not included. Oops. Once I fixed that I was good to go.
Holy updates Batman. I’ll give this a whirl and update this post if I find any major changes.
Onto configuring Veeam!





1 thought on “Deploying an Object First Appliance – WEB UI”